

Customization
Define, in the Cielo Gestão app, how your store receives transaction notices, and protect the notifications sent to your API.
How to access
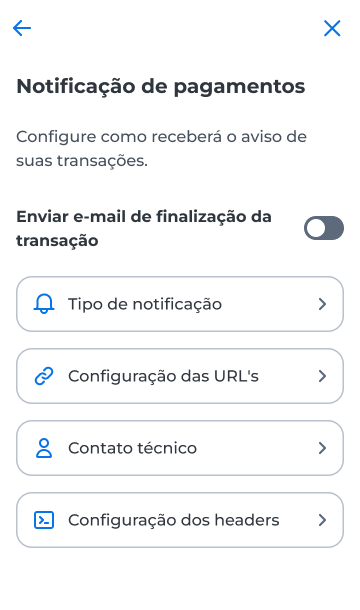
- In the Cielo Gestão app, go to Menu > Link de Pagamento > Configurações;
- Select Notificação de pagamentos.
Choose the notification type
- Select Tipo de notificação;
- Choose an option:
- Receber como POST (receive as POST): sends the transaction data to your server through a POST request;
- Buscar como JSON (fetch as JSON): lets you query the information in JSON format, recommended for API integrations;
- Select Salvar.
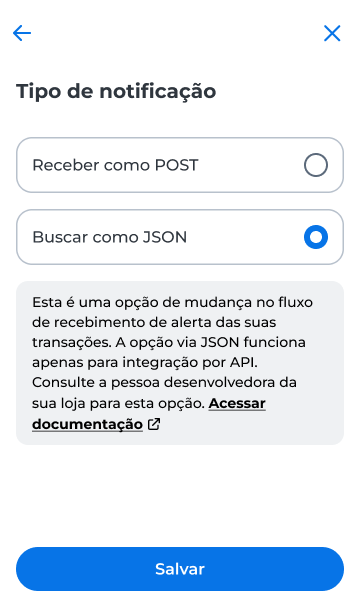
ImportantThe Buscar como JSON option works only for API integration. Check with your store's developer before choosing it.
Configure the URLs
Enter the addresses that receive the shopper's return and the transaction updates.
- Select Configuração das URL's;
- Select Editar;
- Fill in the fields:
- URL de retorno (return URL): where the shopper is redirected at the end of the payment;
- URL de notificação (notification URL): where Cielo sends the data of the completed transaction;
- URL de mudança de status (status change URL): where Cielo sends the transaction status updates;
- Select Salvar.
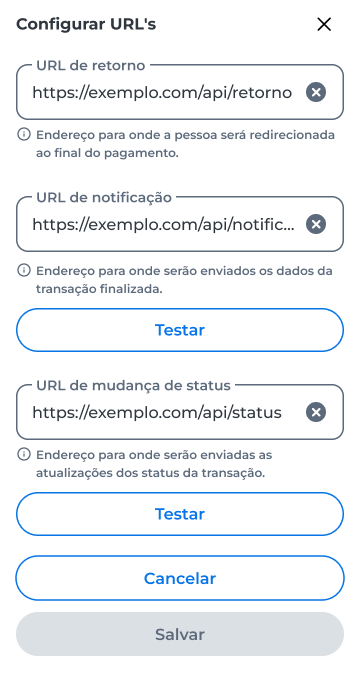
To check whether a URL works, select Testar next to URL de notificação or URL de mudança de status. The app reports whether the test succeeded. To test, enter a valid URL first.
Enter the technical contact
Register the person responsible for API communication failures.
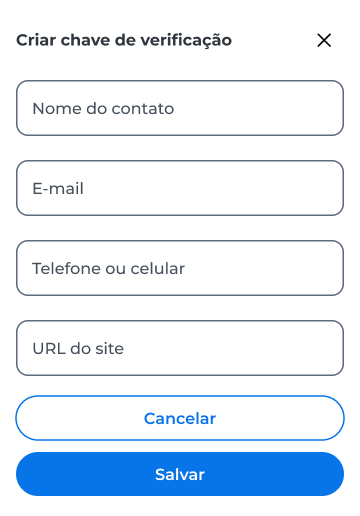
- Select Contato técnico;
- Fill in Nome do contato, E-mail, Telefone ou celular, and URL do site;
- Select Salvar.
Create a verification key
Headers ensure the security and integrity of the notifications sent by an API. They apply to the URL de notificação and to the URL de mudança de status.
- Select Configuração dos headers;
- Select Adicionar nova chave;
- Enter the Chave and the Valor;
- Select Criar.
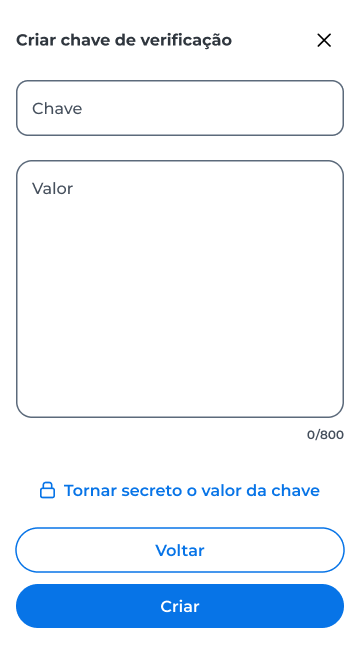
To hide the key value, select Tornar secreto o valor da chave.
Edit or delete a verification key
- In Configuração dos headers, select the key in the list;
- In the details, select Editar to change the value or Excluir to remove the key.
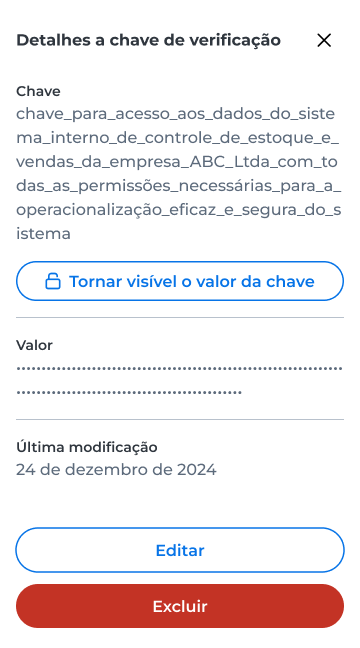
You cannot change the key name.
Resend notifications
To resend the notifications of a transaction, open the order details in Pedidos. See how in Query orders in the Cielo Gestão app.
Updated 12 days ago