Configuration of trusted IPs on the Cielo portal
Check out the step-by-step guide below to configure trusted IPs on the Cielo website:
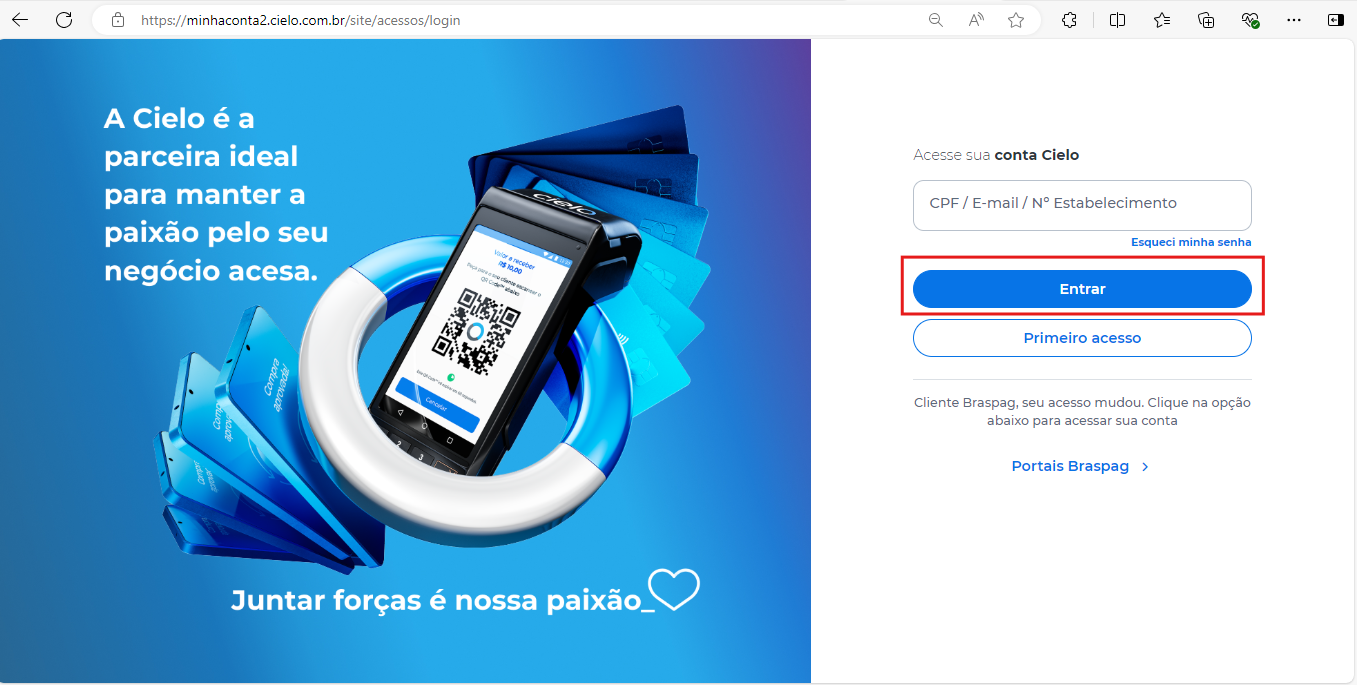
- Access the website Cielo and click on Login;

-
Go to My Cielo Account with the EC number created, and click on Entrar;
-
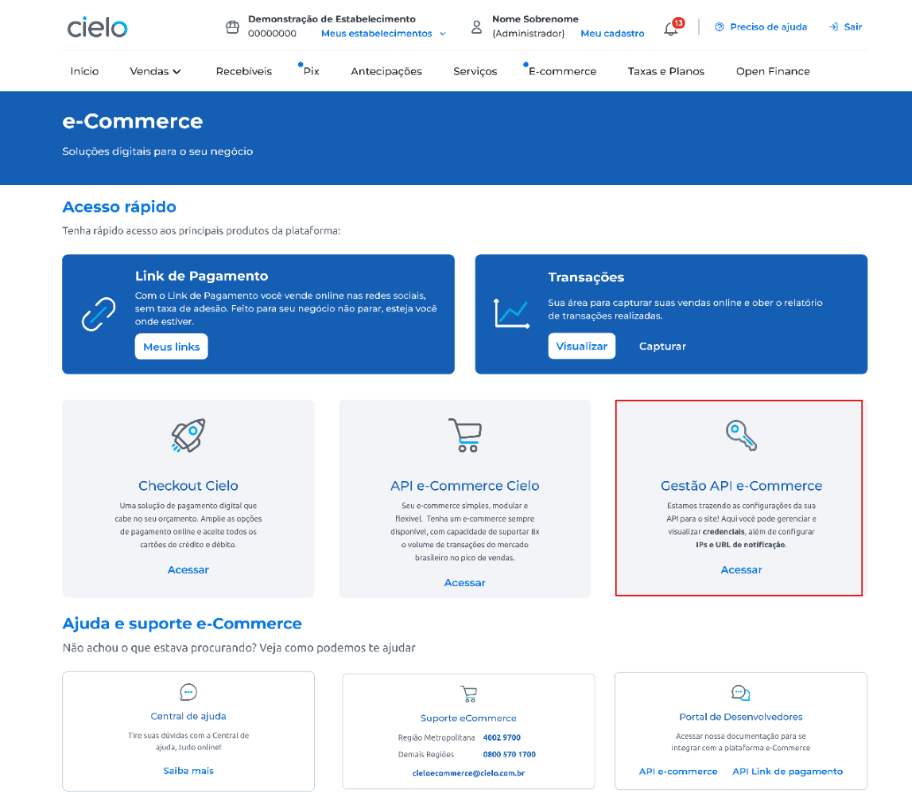
Click on E-commerce;

- In Gestão API e-commerce click Acessar;
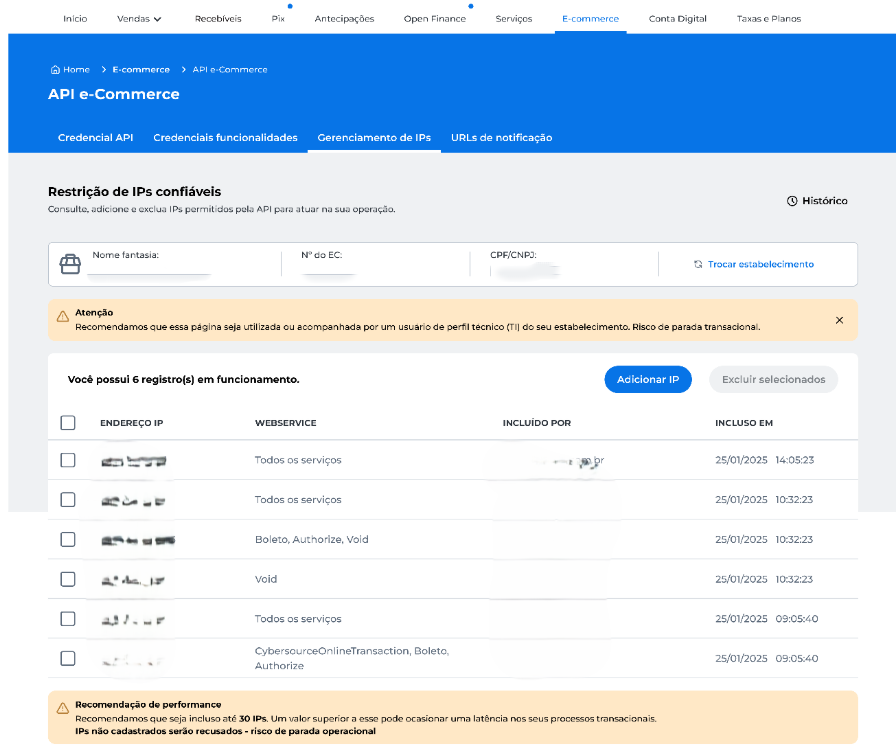
- In the Gerenciamento de IPs tab, click Adicionar IPs;
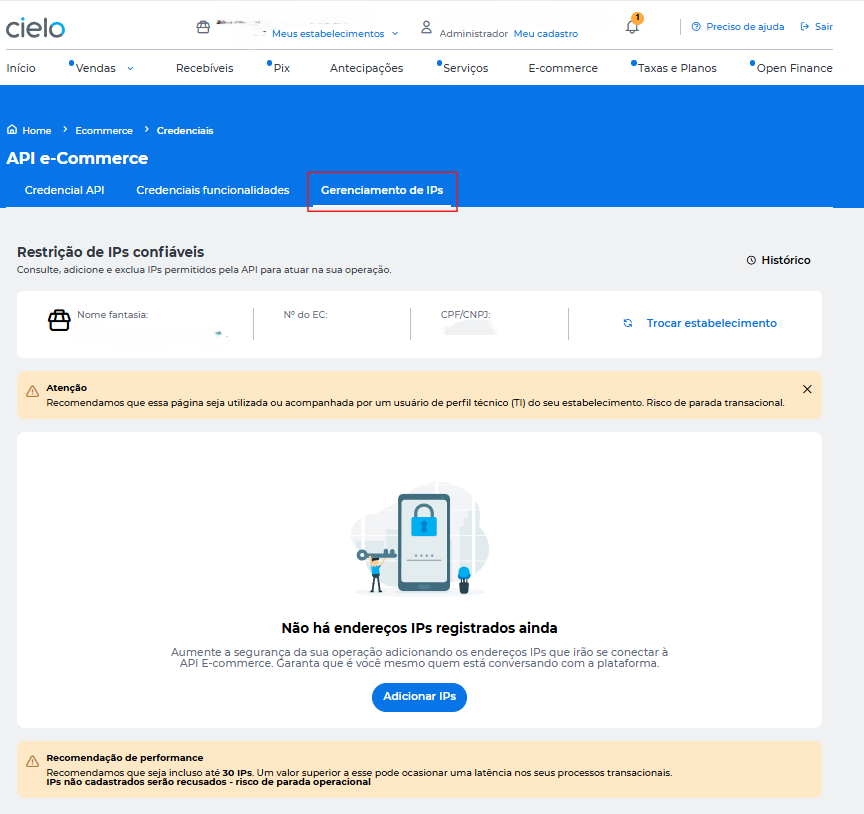
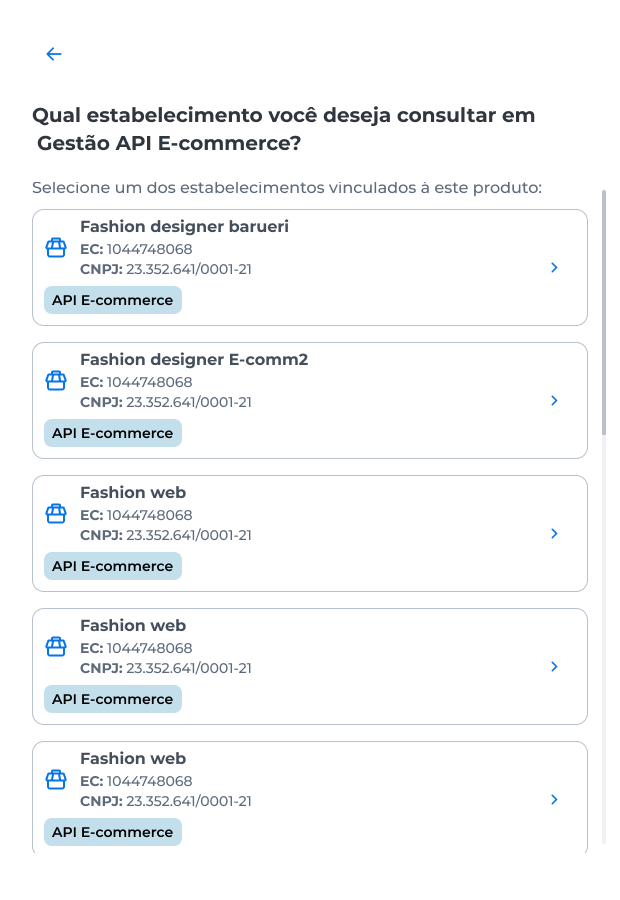
If you want to manage IPs for a different commercial establishment, click on Change establishment and select the one you want to configure:
- You will be redirected and must include the IP addresses separated by commas;
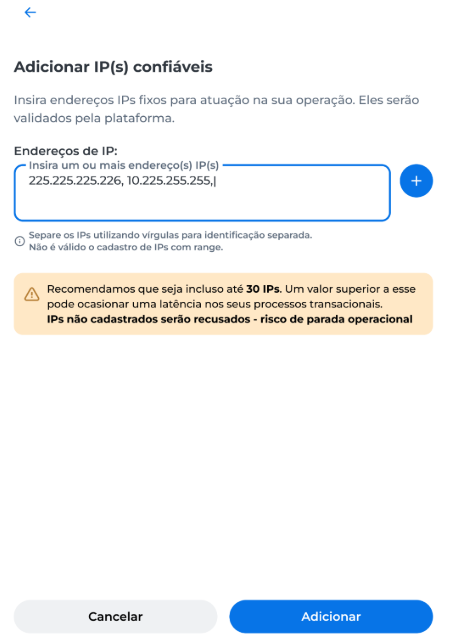
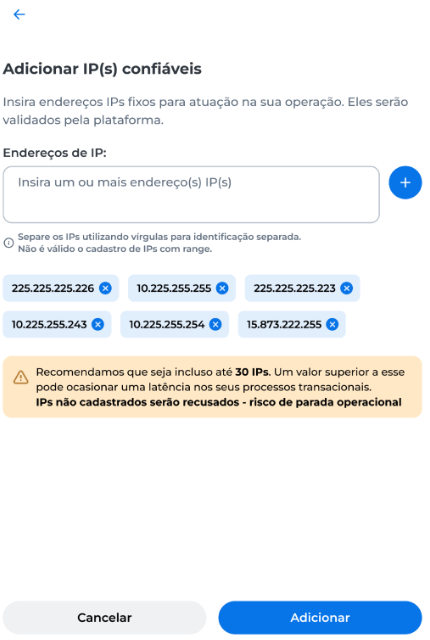
- Click + and the IPs will be added to the list of pre-registered IPs. After that, click Adicionar;
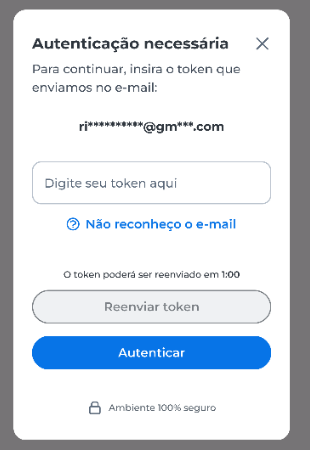
- Enter the token sent to you via the Cielo Management app or email and click Autenticar;
- After authenticating with the token, you will see the status of each IP provided;
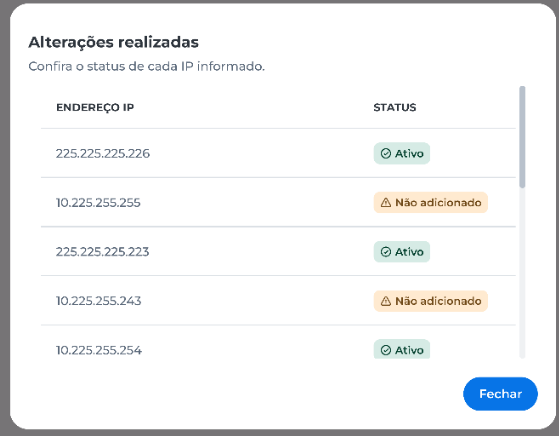
- Status ativo: successfully added;
- Satus não adicionado: invalid IP.
- In the Gerenciamento de IPs tab, you will see the configured IPs and can delete them whenever you want.
Updated about 2 months ago