Settings
When you access the Settings page, you will find all the options necessary to manage your environment and customize the user experience.
Settings includes the following tabs:
How to Access the Settings Page
To access the settings area for Link de Pagamento and Checkout, follow these steps:
-
to the Cielo website;
-
In the main menu, click E-commerce;
-
Select Link de Pagamento;
-
Click Configurações.
After accessing Configurações, several tabs will be displayed so you can adjust the available options.
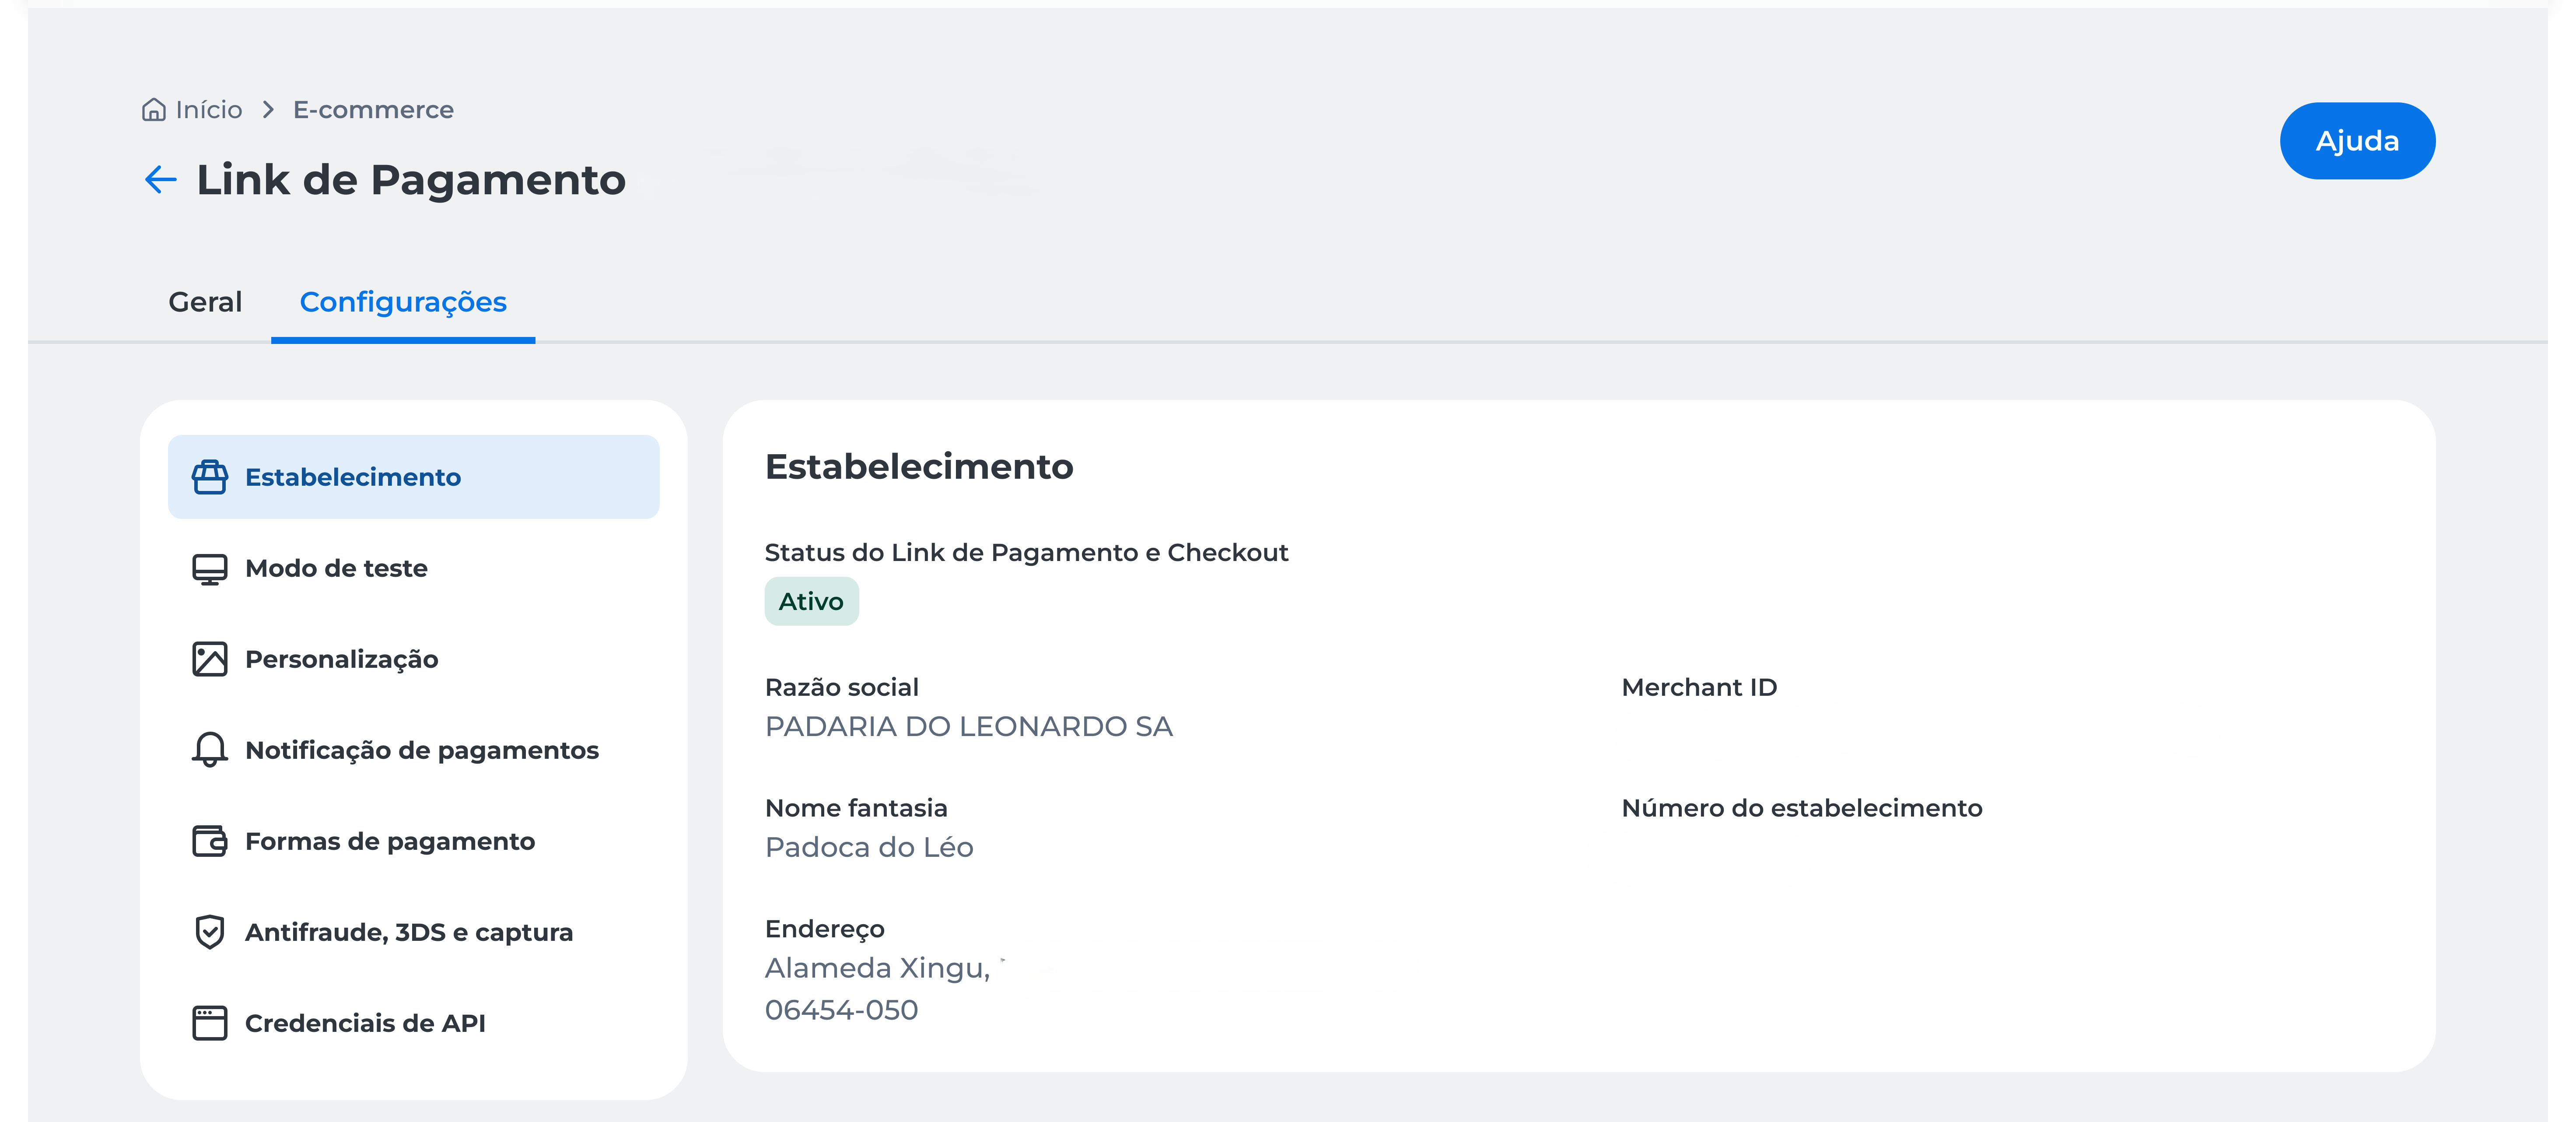
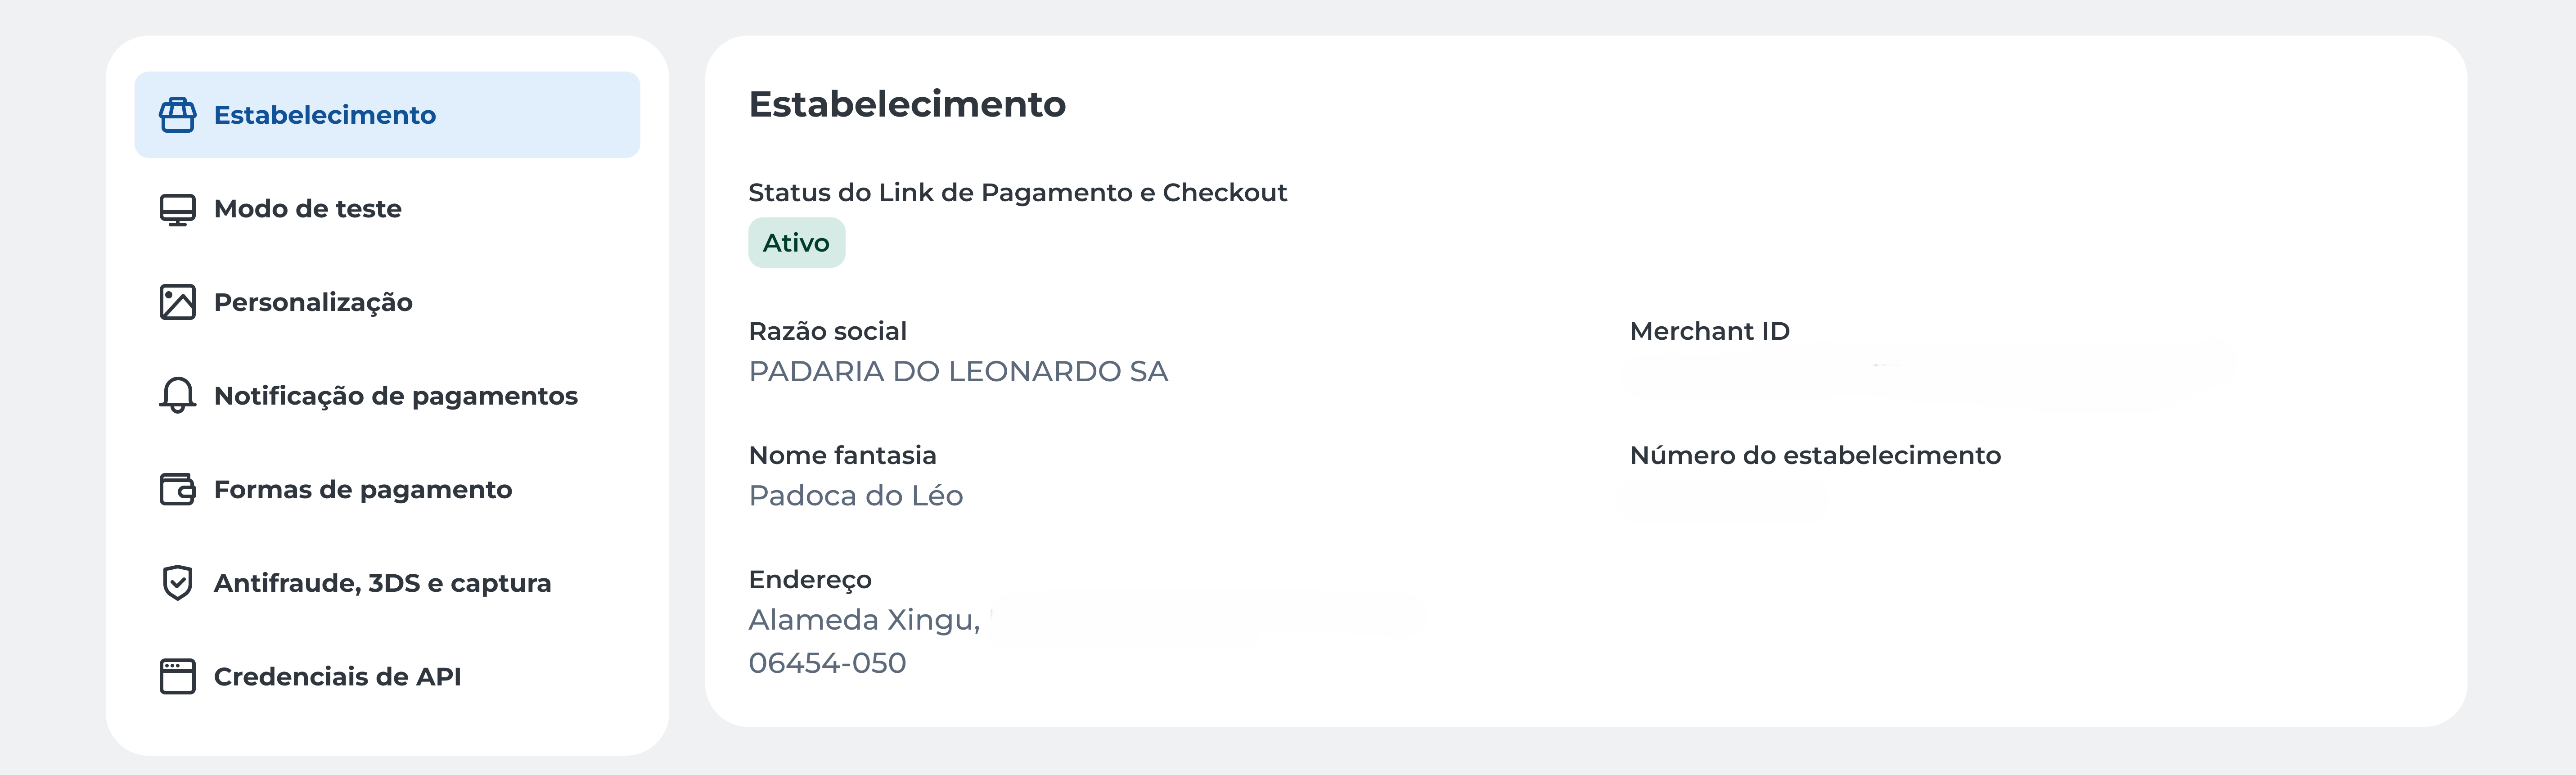
Merchant
In this tab, you can:
-
Check the status of the Link de Pagamento and Checkout, which can be:
-
Active;
-
Inactive;
-
Blocked.
-
-
View the details of the merchant selected at the top of the page:
-
Legal Name;
-
Trade Name;
-
Address;
-
Merchant ID;
-
Merchant Number.
If the status is Inactive or Blocked, contact E-commerce Support for regularization.
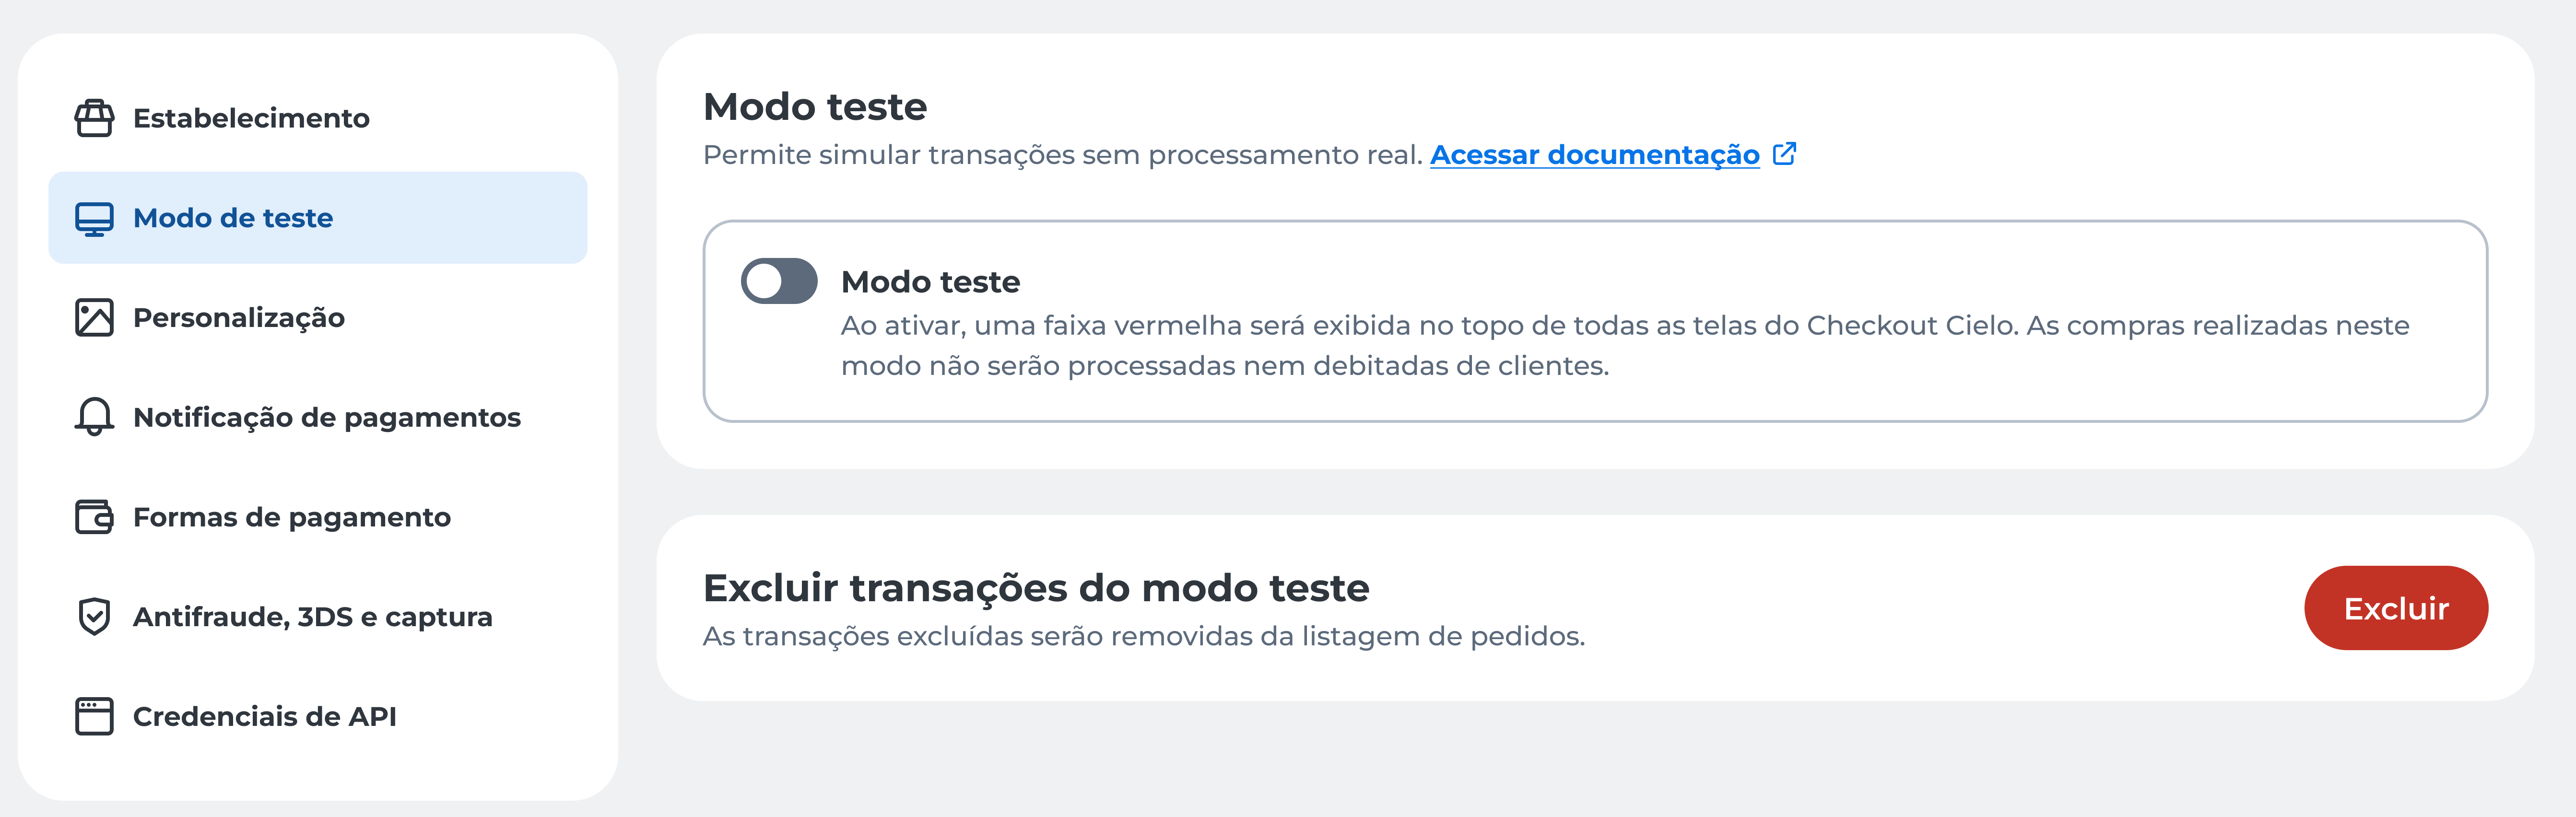
Test Mode
In this tab, you can:
-
Enable or disable test mode to simulate transactions without financial impact;
-
Delete transactions performed in test mode, ensuring they do not appear in the order list.
Test mode is intended only for simulations and validations. Transactions carried out in this mode do not generate real charges.
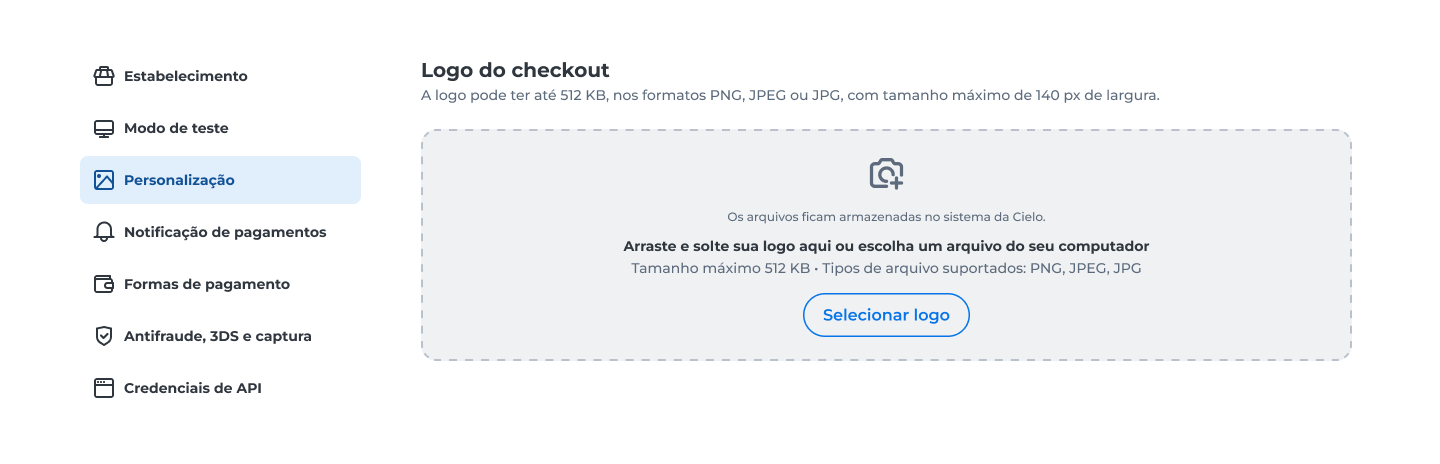
Customization
In this tab, you can:
- Customize the customer experience by adding your store logo to the checkout.
Check the specifications before uploading the file.
Payment Notifications
In this tab, you can:
-
Configure how you want to receive alerts and updates about your transactions;
-
Define whether the customer should
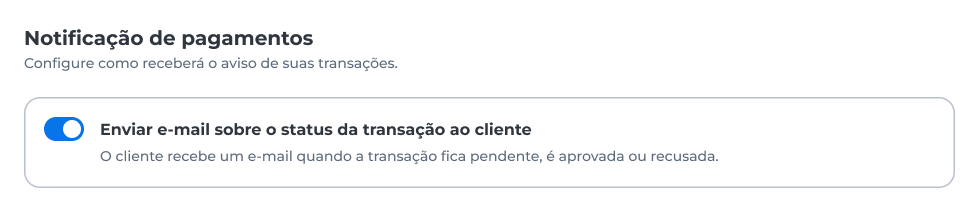
Sending Automatic Emails to the Customer
By default, the end customer receives automatic emails when the transaction is:
-
Pending;
-
Approved;
-
Declined.
If you do not want to send these emails, disable the option Enviar e-mail sobre o status da transação ao cliente and click Salvar.
Notification Type
Choose the format to receive transaction data:
- Receive as POST
Sends the transaction data to your server through a POST request; - Fetch as JSON
Allows you to retrieve information in JSON format, recommended for API integrations.
Use the JSON option only when there is an API integration. Learn more at Transaction Notification.
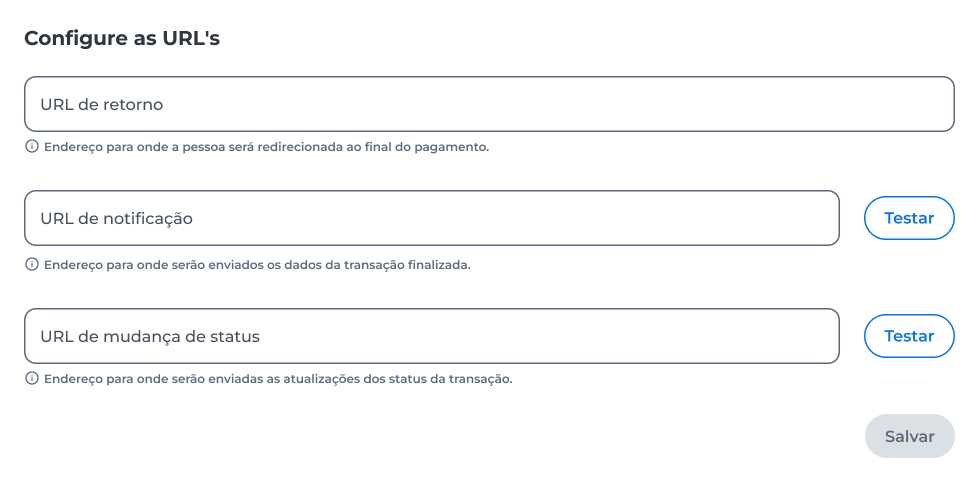
Configure URLs
Register the addresses that will be used for transaction return and update:
- Return URL: redirects the buyer at the end of the payment. No data is sent to this URL. Optional configuration;
- Notification URL: receives updates about the status of transactions;
- Status Change URL: receives events related to changes in the transaction status.
The notification and status change URLs have a Test button to validate the configured address.
Learn more in Transaction Notification.
After filling in the URLs, click Save.
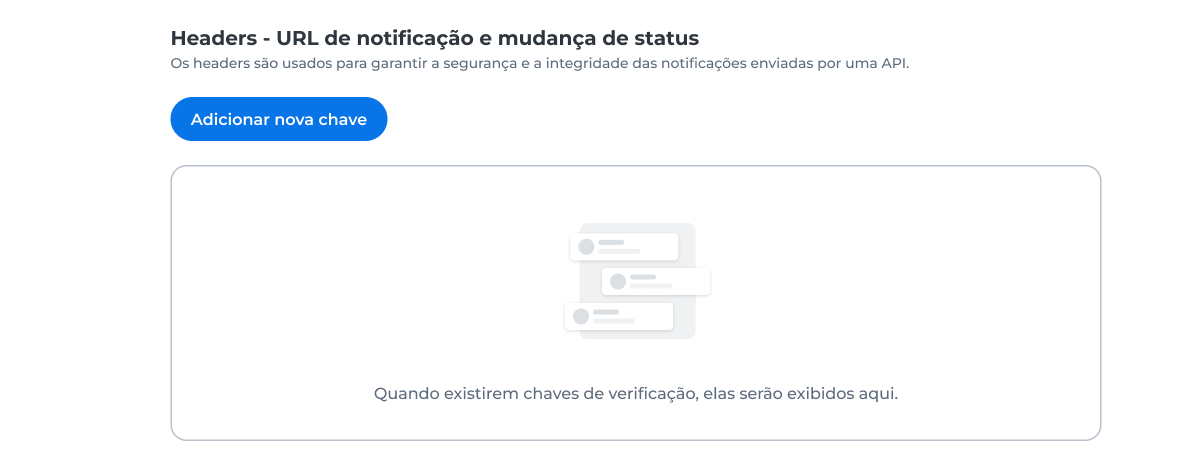
Headers – Notification and Status Change URL
Add headers to ensure the security and integrity of the notifications sent to your API.
- Click Adicionar nova chave to include a header;
- When keys are registered, they will be displayed in this section.
It is possible to resend notifications after the order has been created. To do this, go to the Pedidos → Detalhes do Pedido menu on the Cielo website.
Payment Methods
In this tab, you can:
- Choose which payment methods will be available at checkout;
- Enable or disable card brands, digital wallets, Pix, boletos, and multi-benefit cards;
- Set minimum amounts and discounts for each method.
ImportantDuring the first 60 days, it is not allowed to enable card brands without 3DS support.
These brands must remain disabled.Brands without 3DS support: Aura, Diners, and Discover.
Amex: does not have 3DS enabled by default. To enable it, contact Cielo E-commerce Support.
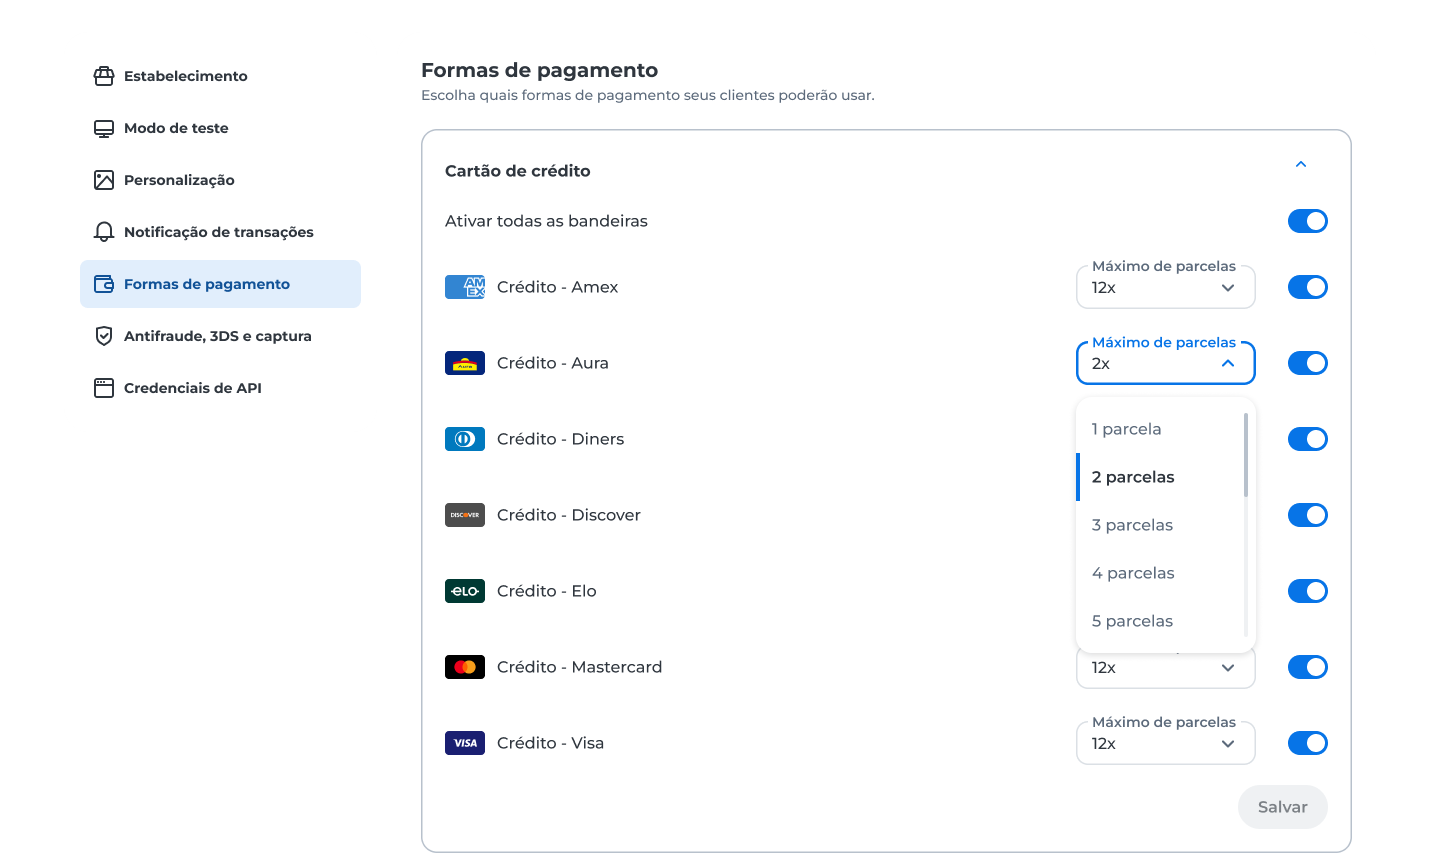
Credit Card
Define which credit card brands will be available and configure the maximum number of installments for each one.
Available options:
- Enable all brands at once;
- Enable or disable brands individually;
- Configure the maximum installment per brand (up to 12x).
Available brands:
- Amex;
- Aura;
- Diners;
- Discover;
- Elo;
- Mastercard;
- Visa.
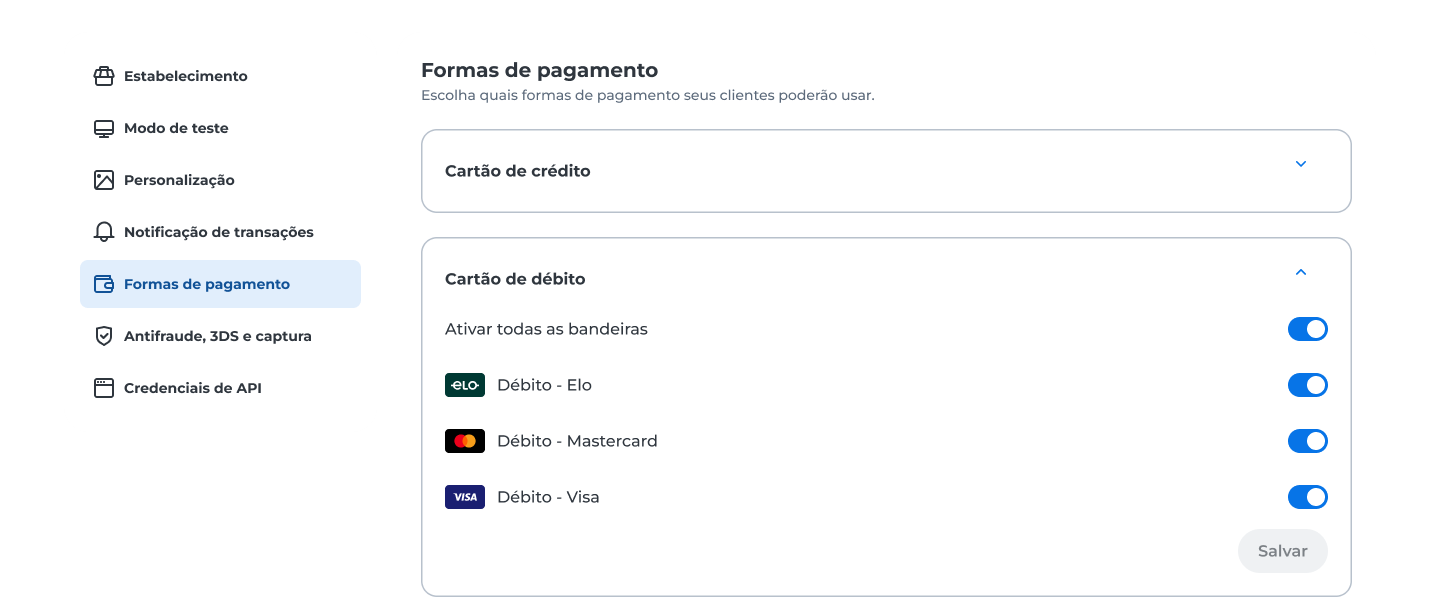
Debit Card
Choose which debit card brands will be available:
- Elo;
- Mastercard;
- Visa.
You can enable all at once or individually.
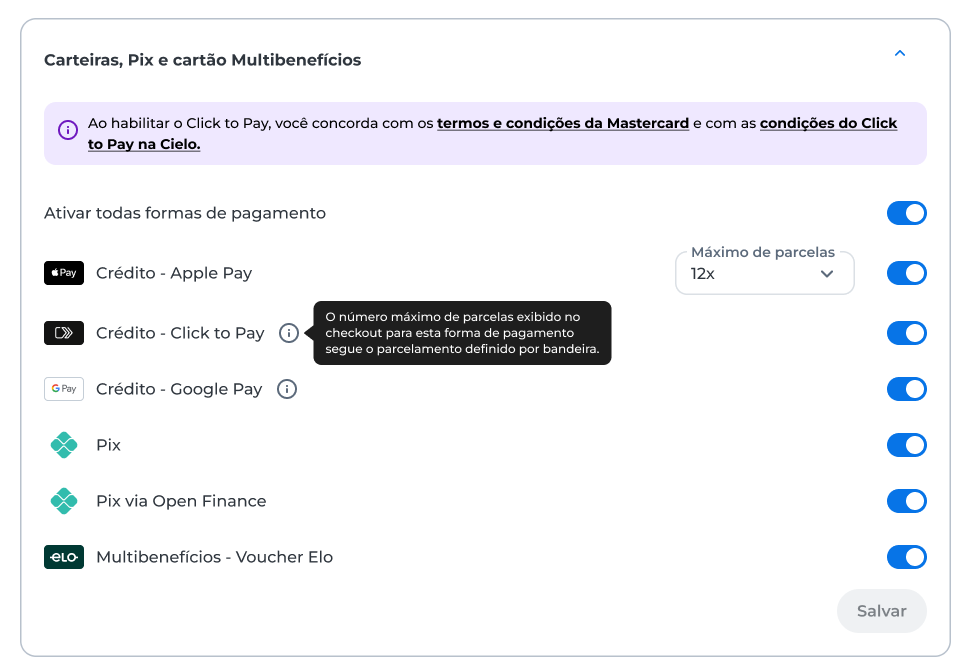
Digital Wallets, Pix, and Multi-Benefit Card
Enable digital wallets, Pix, and multi-benefit cards:
- Apple Pay;
- Click to Pay;
- Google Pay;
- Pix;
- Pix via Open Finance;
- Voucher Elo (Multi-Benefit).
For digital wallets, installment options follow the configuration defined for each brand.
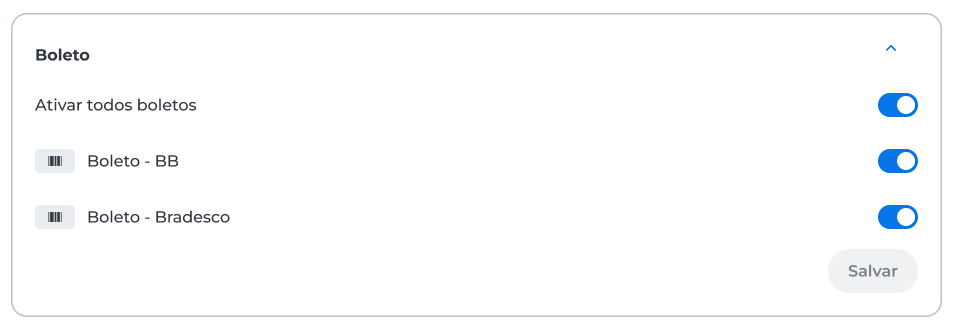
Boleto
Enable the banks available for boleto issuance:
- Banco do Brasil (BB);
- Bradesco.
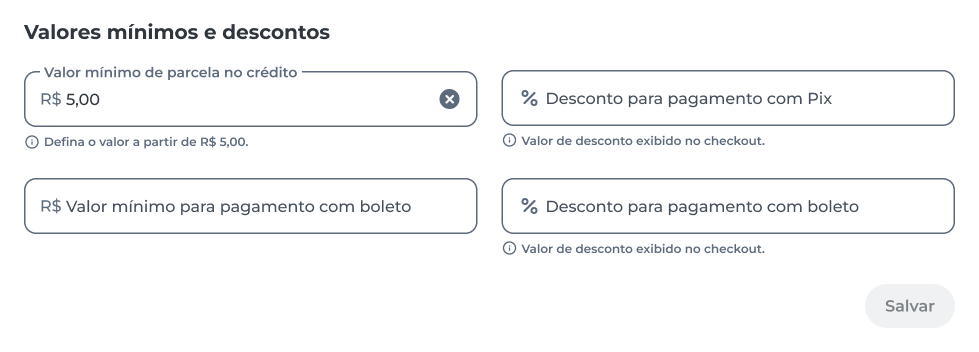
Minimum Amounts and Discounts
Set:
- Minimum amount per credit installment (e.g., R$ 5.00);
- Minimum amount for boleto payment;
- % discount for Pix payment;
- % discount for boleto payment;
After completing the desired configurations, click Salvar.
Antifraude, 3DS, and Captura
In this tab, you can:
- Enable or disable 3DS authentication for credit card transactions;
- Define rules for customers without biometrics in high-risk purchases;
- Configure how transactions will be captured after authorization;
3DS Authentication
Control the activation of 3DS authentication:
- Habilitar autenticação 3DS para transações de cartão de crédito: When enabled, all card transactions go through 3DS verification.
During the first 60 days, new merchants must keep 3DS enabled.
If you try to disable it before this period, a message will appear informing you of the restriction.
To enable 3DS authentication for the Amex brand, contact E-commerce Support.
- Allow customers without biometrics to make purchases even in high-risk transactions: defines whether customers without biometrics can complete purchases classified as risky.

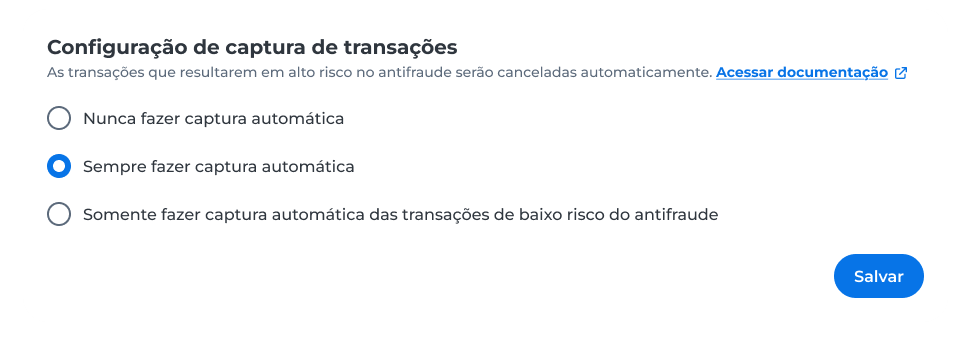
Transaction Capture Configuration
Choose how transactions will be captured after authorization:
- Nunca fazer captura automática: capture will be manual;
- Sempre fazer captura automática: all approved transactions will be captured automatically;
- Somente fazer captura automática das transações de baixo risco de antifraude: only secure transactions will be captured automatically.
After completing the desired configurations, click Salvar.
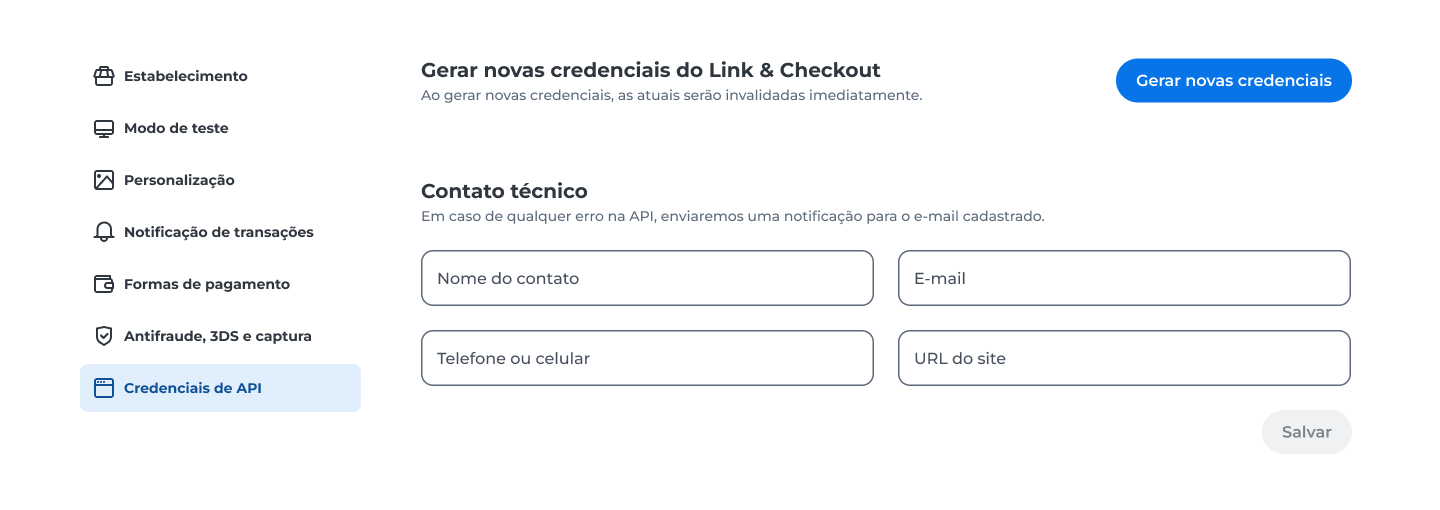
API Credentials
In this tab, you can:
- Generate new credentials for Link and Checkout integration;
- Register the technical contact details to receive notifications about API failures.
Generate New Credentials
Click Gerar novas credenciais to create a new pair of credentials for integration with your system.
When generating new credentials, the current credentials are immediately invalidated.
Update your application with the new credentials to maintain active communication.
Technical Contact
Register the details of the technical contact who will be notified in case of errors in API communication.
Notifications will be sent to the provided email.
Available fields:
- Contact name;
- Email;
- Phone or mobile;
- Website URL.
After entering the information, click Salvar.
Updated about 1 hour ago