Configuration of trusted IPs on the Cielo portal
A trusted IP is an address that remains static over time. After registering the list of trusted IPs, only transactions originating from authorized IPs will be accepted.
If a transaction is attempted from an unauthorized IP, the request will be rejected with the following errors:
- HTTP Status Code: 403 – Forbidden
The request was made from an IP address not registered in the system.- API error code: 301 – Request IP is not allowed
The IP restriction service is enabled and the provided IP is not configured. To resolve this, contact our support team and request the authorization of the IP address.
The settings described can only be performed by users with Administrador (Administrator), Técnico (Technician), or Analista (Analyst) permissions.
Manage access for each profile in Meu cadastro > Gestão de Acessos and learn more about the different types of access in Entenda a diferença entre cada perfil.
Check out the step-by-step guide below to configure trusted IPs on the Cielo website:
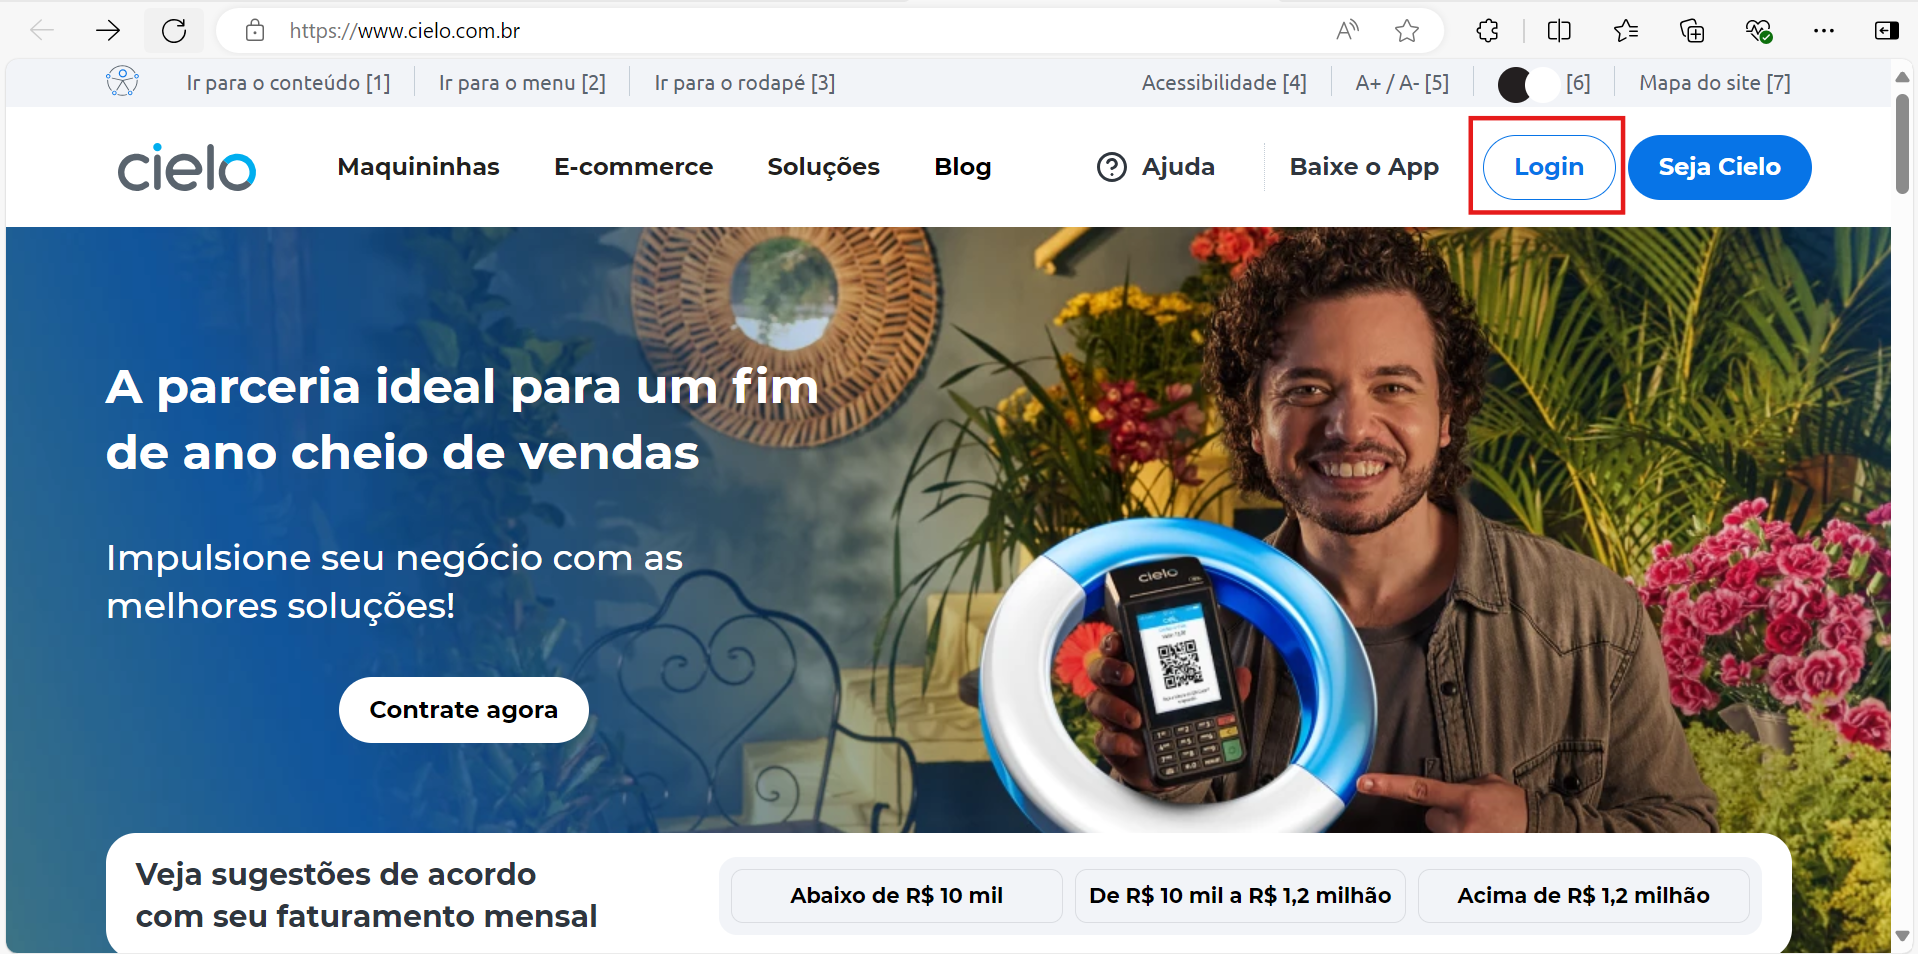
- Access the website Cielo and click on Login;
-
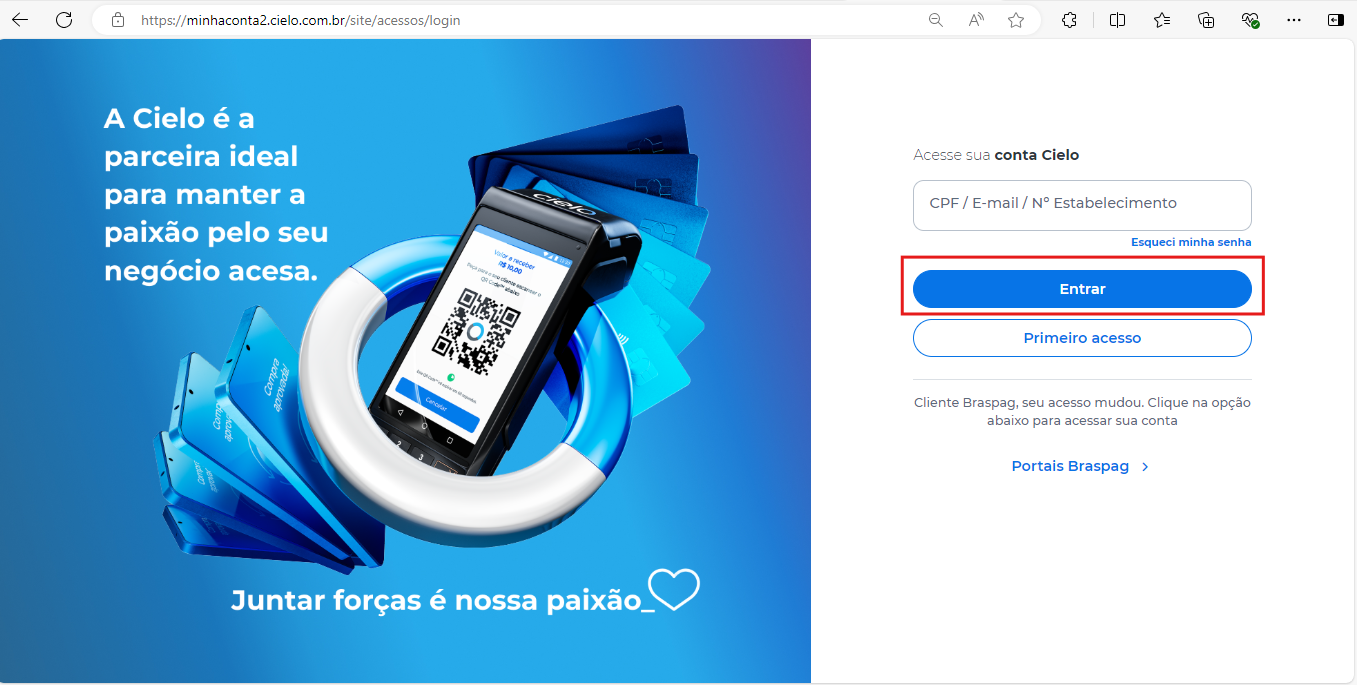
Go to My Cielo Account with the EC number created, and click on Entrar;
-
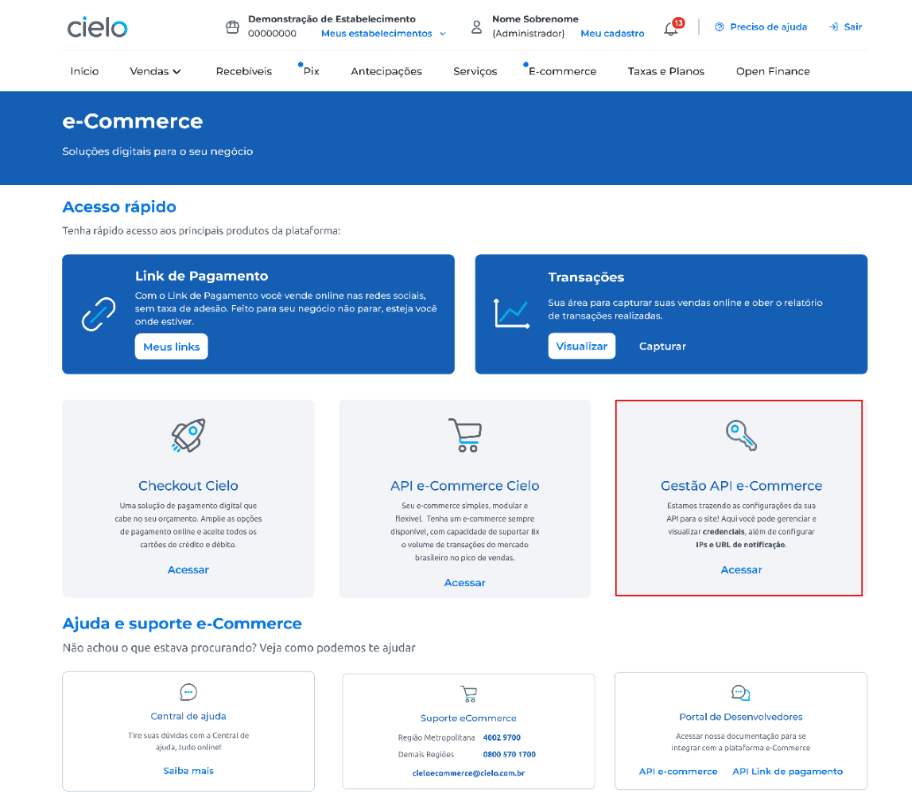
Click on E-commerce;

- In Gestão API e-commerce click Acessar;
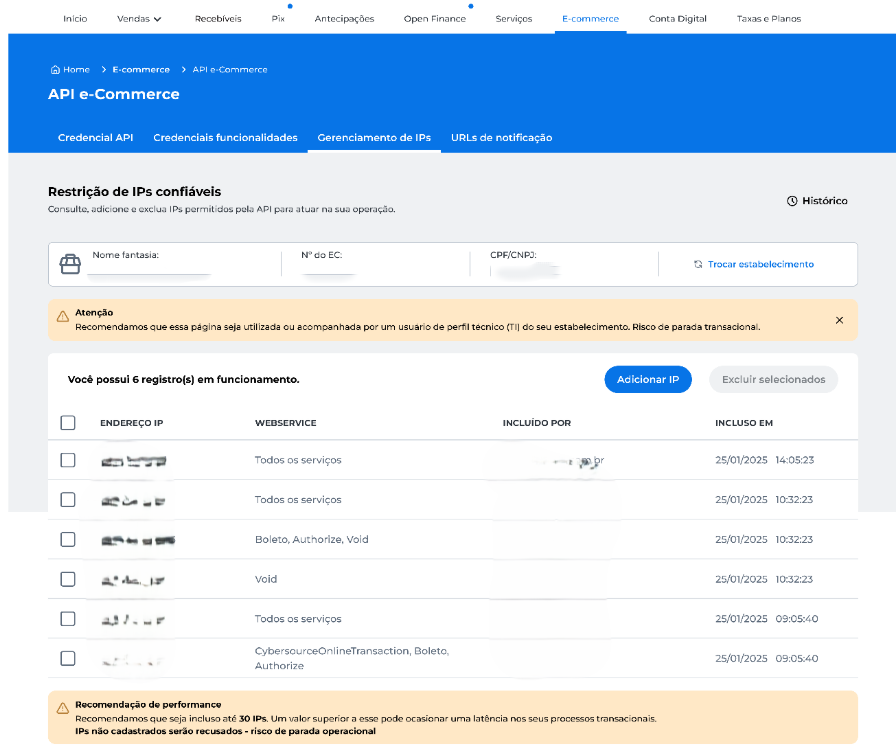
- In the Gerenciamento de IPs tab, click Adicionar IPs;
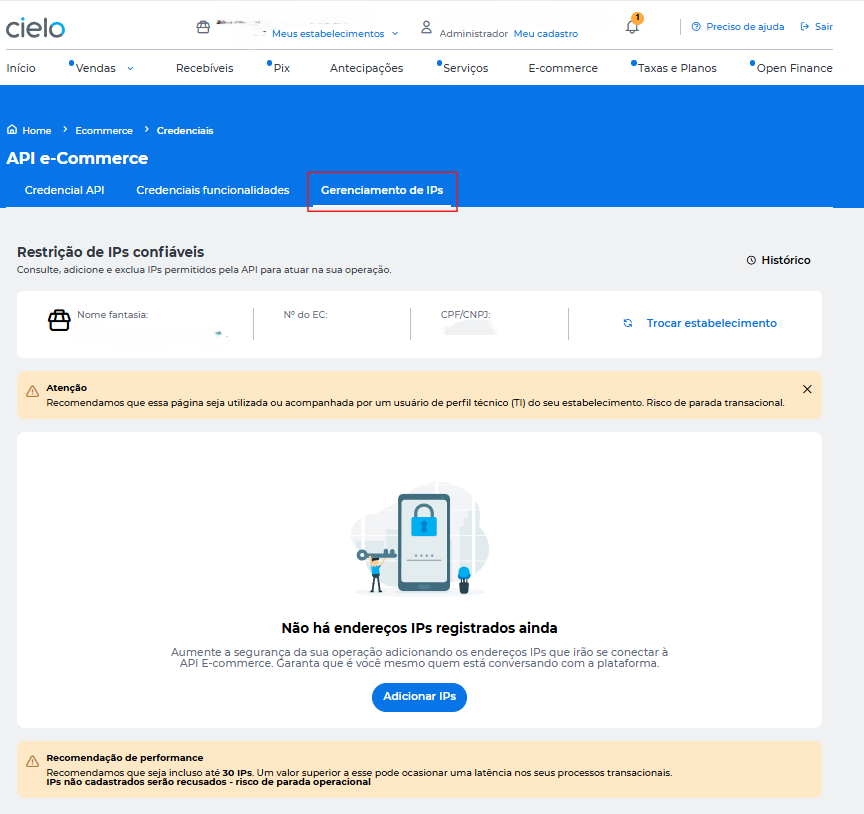
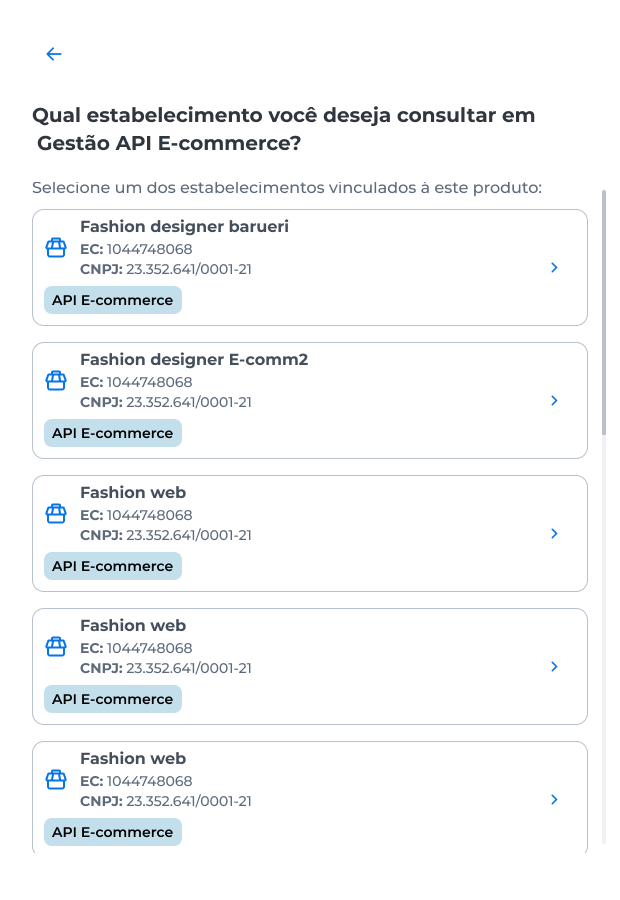
If you want to manage IPs for a different commercial establishment, click on Change establishment and select the one you want to configure:
- You will be redirected and must include the IP addresses separated by commas;
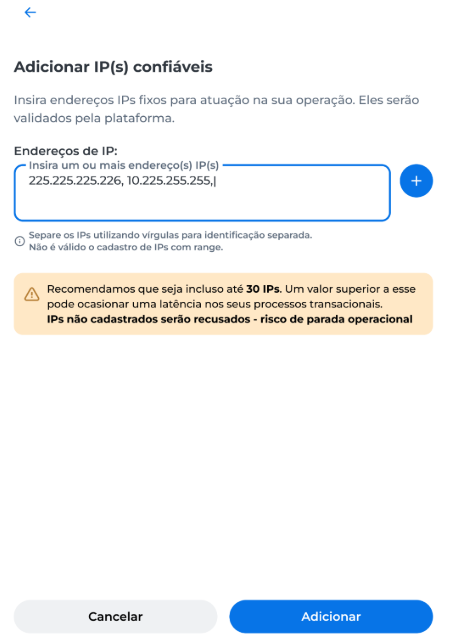
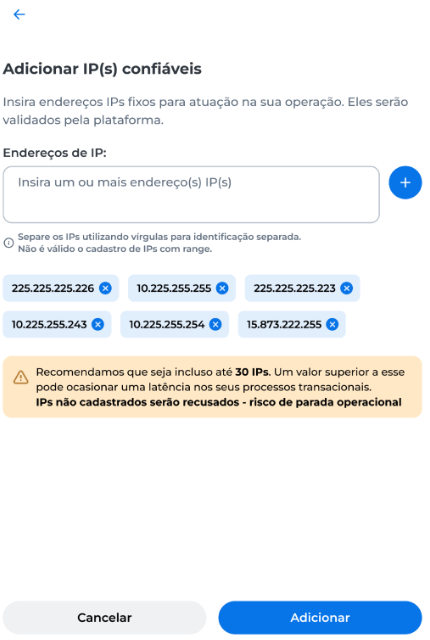
- Click + and the IPs will be added to the list of pre-registered IPs. After that, click Adicionar;
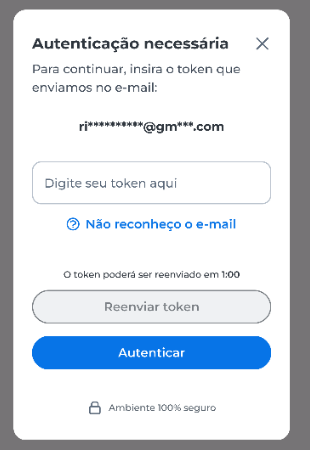
- Enter the token sent to you via the Cielo Management app or email and click Autenticar;
- After authenticating with the token, you will see the status of each IP provided;
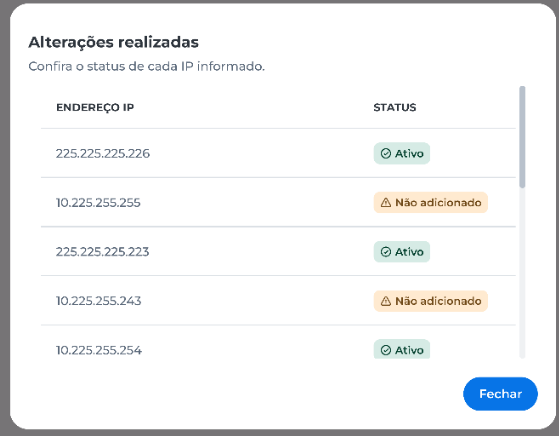
- Status ativo: successfully added;
- Satus não adicionado: invalid IP.
- In the Gerenciamento de IPs tab, you will see the configured IPs and can delete them whenever you want.
Updated 3 months ago