Custom Profile
Use this option to create a profile with specific permissions and apply it to users.
Creating a custom profile is done in stages:
- Define the profile name;
- Configure access permissions;
- Add users (optional);
- Review the information;
- Confirm the merchants.
Follow the instructions below to complete the process.
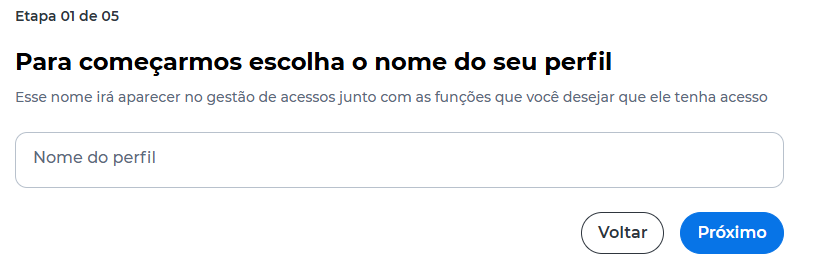
Define Profile Name
- Enter the profile name;
- Click Próximo.
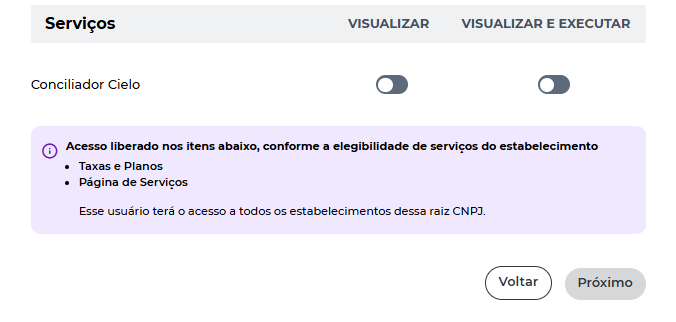
Configure Permissions
- Select the permissions for each feature;
- Set the type of access:
- Visualizar;
- Visualizar e executar;
- Click Próximo;
- Enter the security token generated in the Cielo Gestão App.

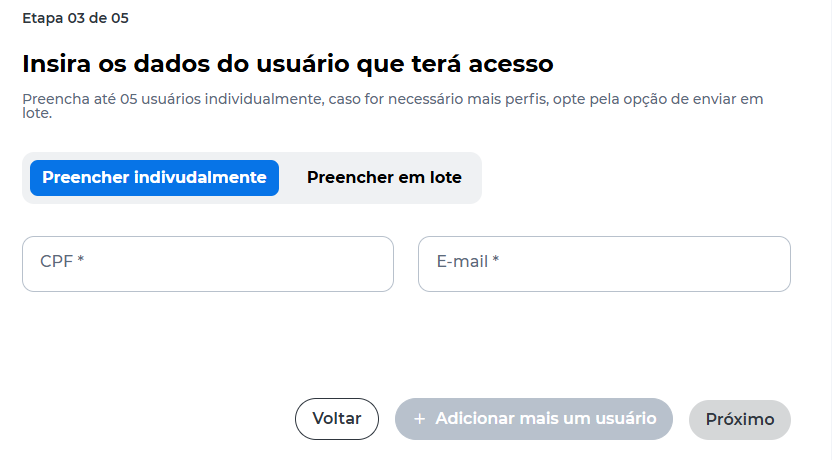
Assign Users to the Profile
- Choose whether to assign users to the profile;
- If yes:
- Enter CPF and email, or;
- Use the Preencher em lote option;
- Click Próximo.
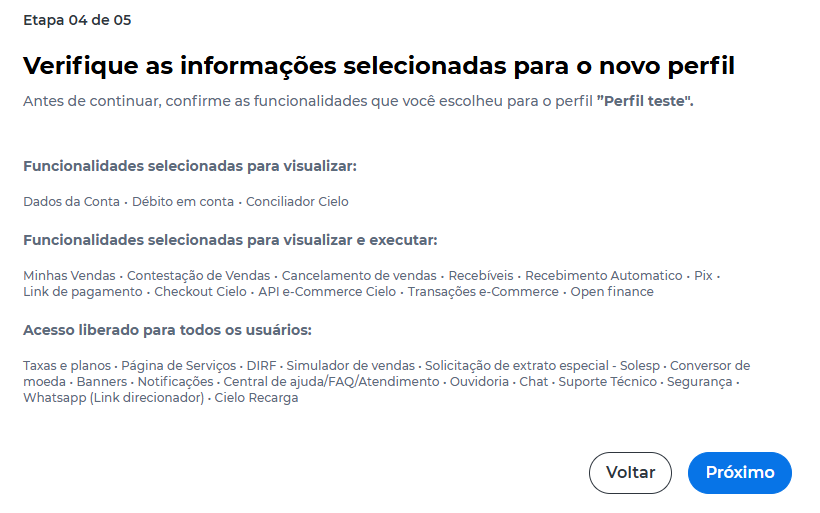
Review Profile
- Check the configured permissions and information;
- Click Próximo.
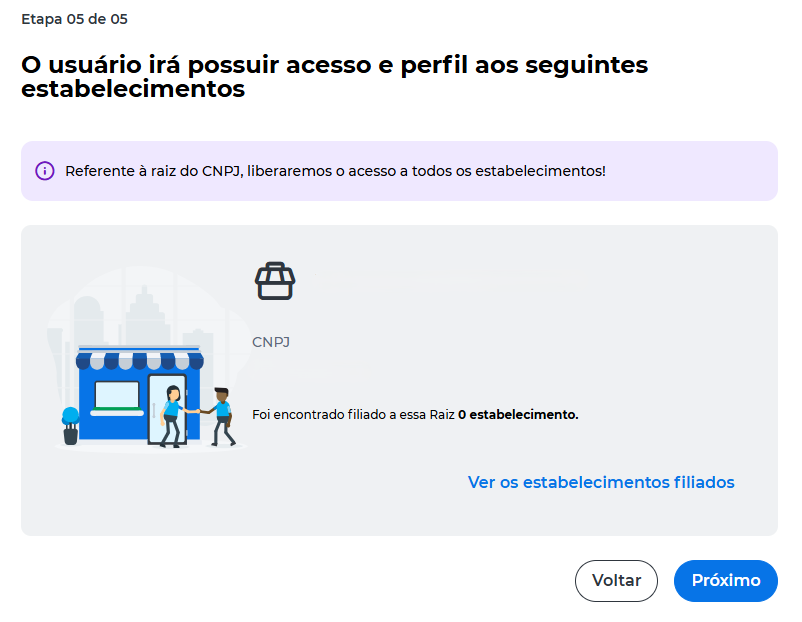
Confirm Merchants
- Check the merchants that the profile will have access to;
- Click Próximo.
Complete Profile Creation
After confirmation:
- The profile is created;
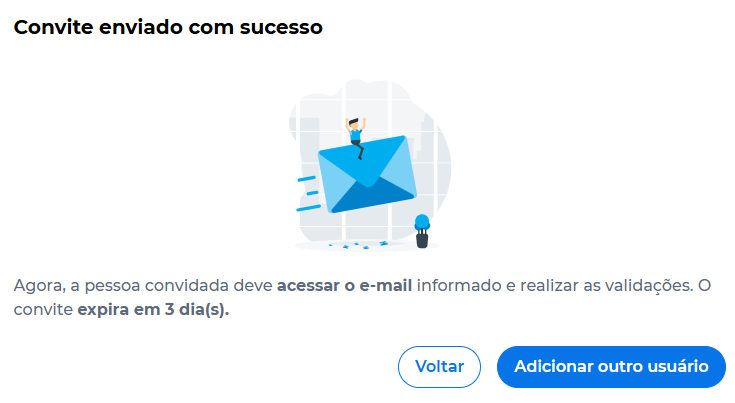
- If users were added, the invitations are sent.
The invited person must access the provided email to complete registration and activate access.
The invitation expires in up to 3 days.
Updated about 9 hours ago